Cathy’s Recap
I’m writing this because Dennis told me to because I learned a lot through this experience and it would be meaningful to look back upon it someday. For this competition, we were each in charge of one machine, so I am mainly writing about the machine I was in charge of.
System overview
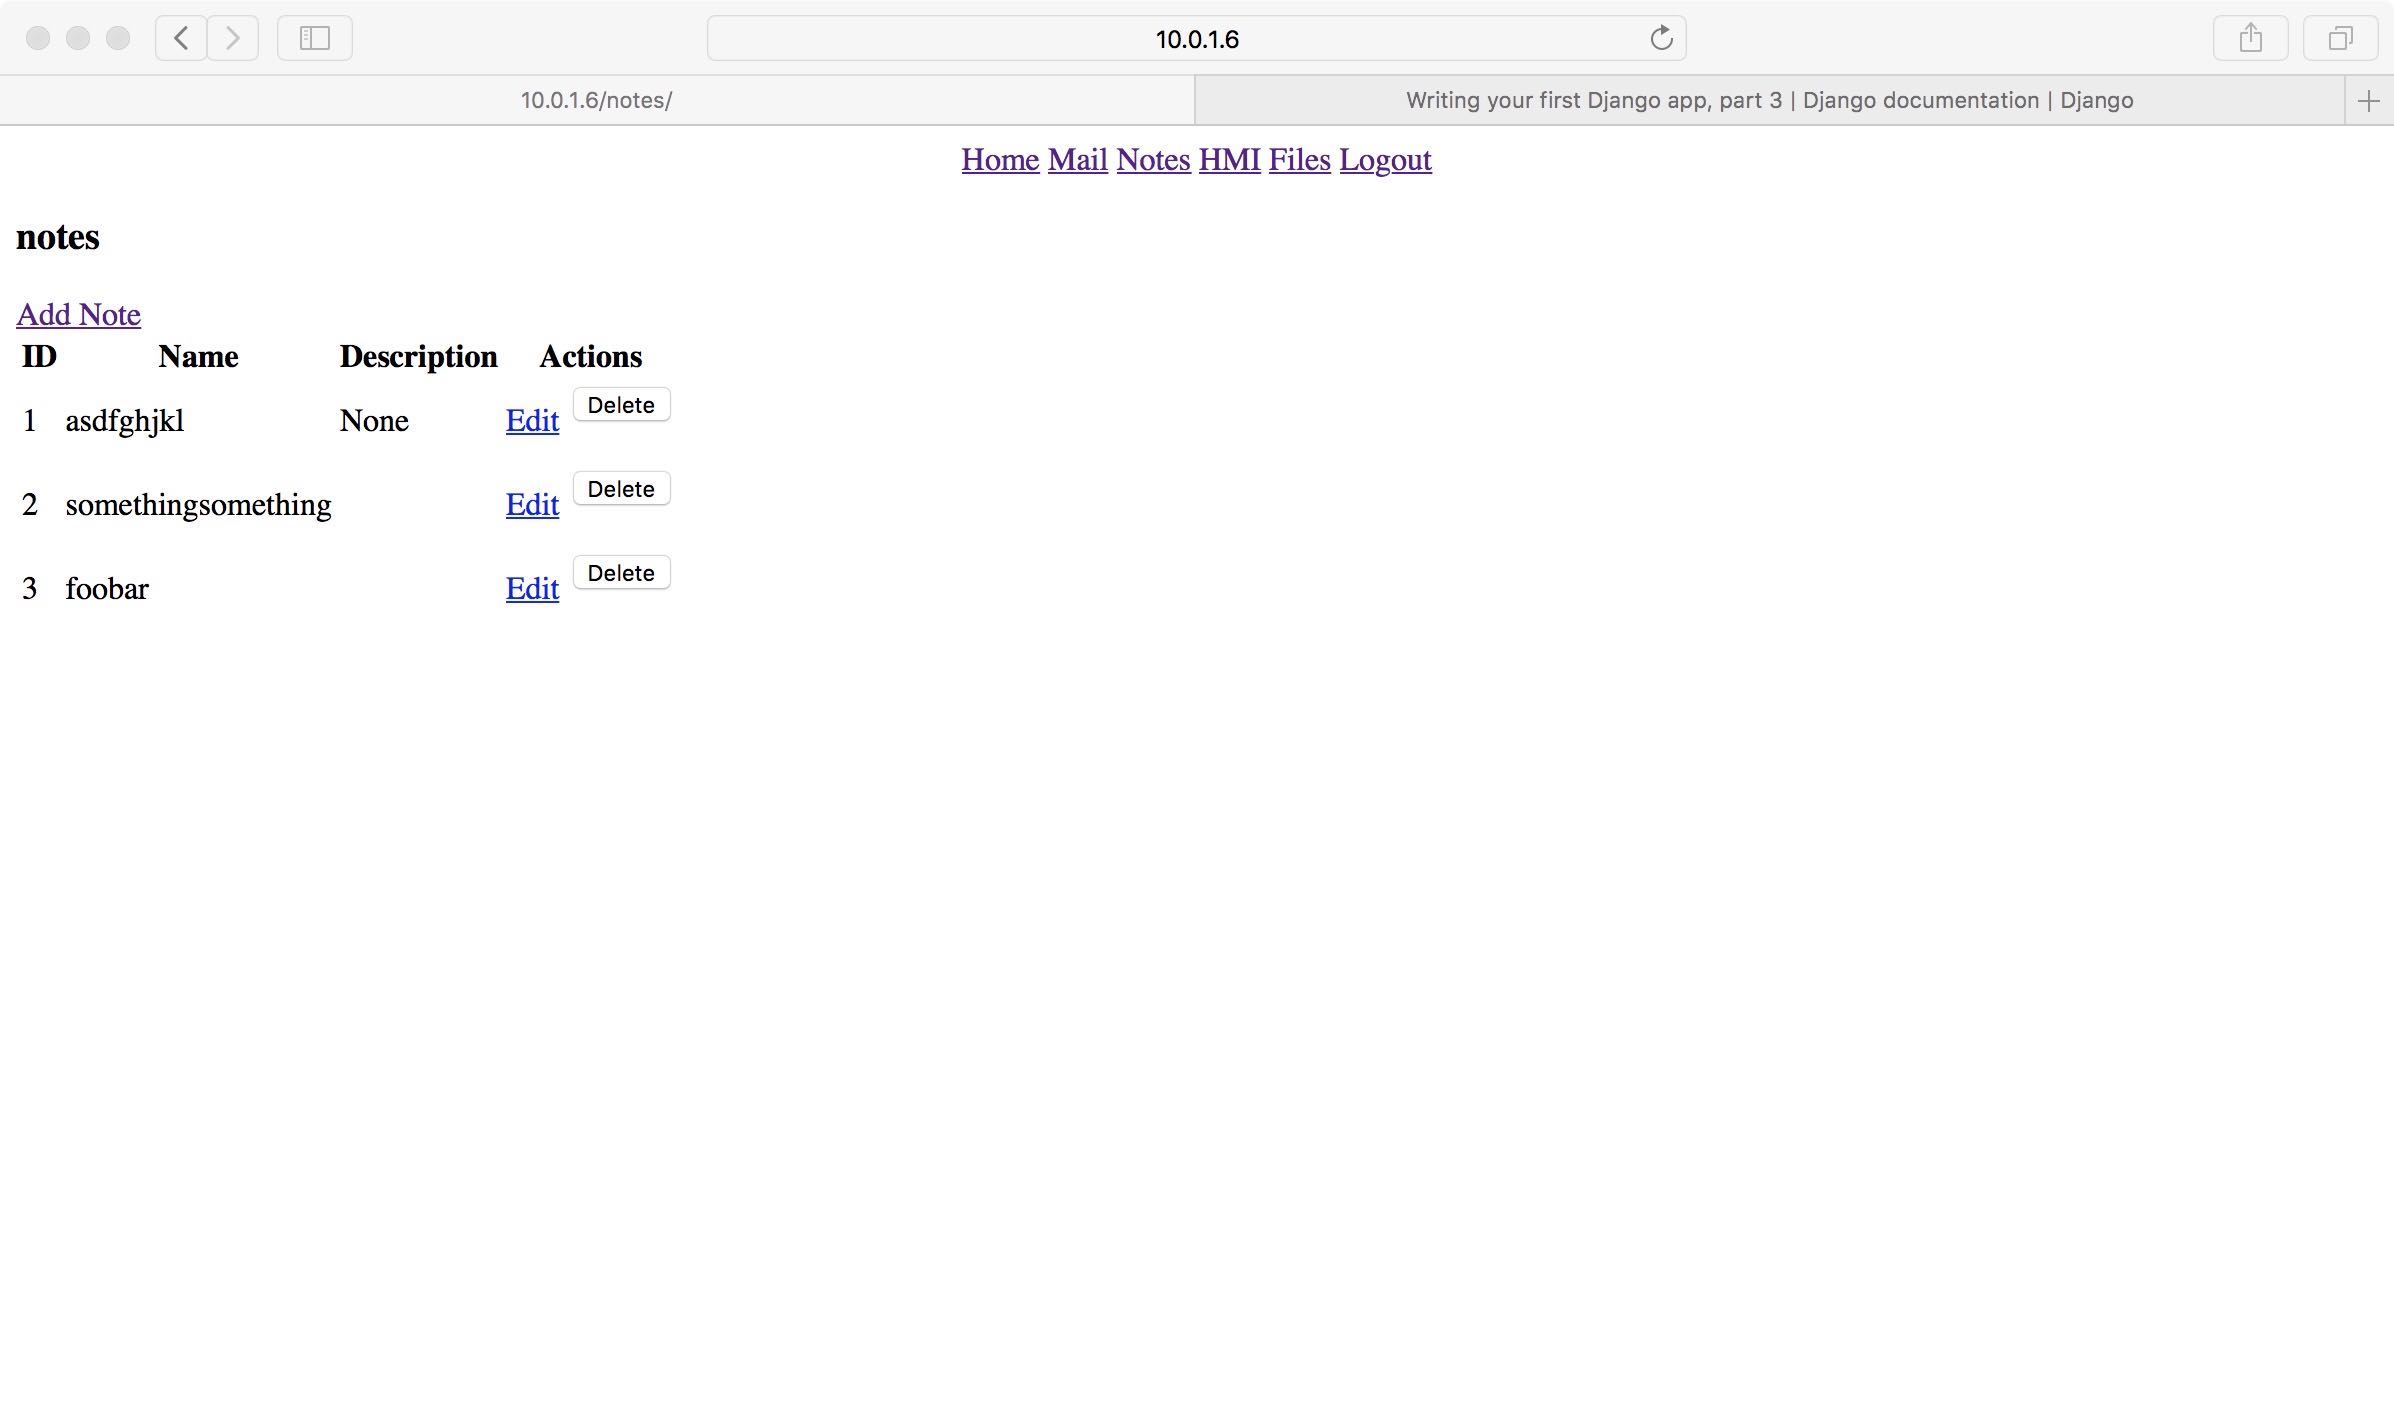
The provided machine runs CentOS and hosts a website, which serves as the primary interface for users. The web engine is NGINX and the framework is Django (see next section for differences between web engines and frameworks). Ideally, users should be able to check their email, read and post engineering notes, access the HMI application and share files from this website.
In addition to the website, this machine also hosts a note-taking app, which is written in C and contains multiple vulnerabilities. I did not realize that we were not allowed to reimplement the functionalities with another language / framework, so I reimplemented the note-taking app with Django. Unfortunately, I later realized that this was forbidden, so we had to use the original app. Please don’t make my mistake next year!
Web servers and web frameworks
First, let’s figure out the roles of NGINX and Django. NGINX is a web server. It took some Googling for me to figure out the difference between a web server (e.g. NGINX or Apache) and a web framework (e.g. Django or Flask).
Traditionally, web servers directly return static content, and communicate with application programs via Common Gateway Interface (CGI) to serve dynamic content.

Similarly, for Python applications or frameworks, Web Server Gateway Interface (WSGI) is used. The user communicates with NGINX server, which in turn communicates with the Django application to retrieve dynamic content.
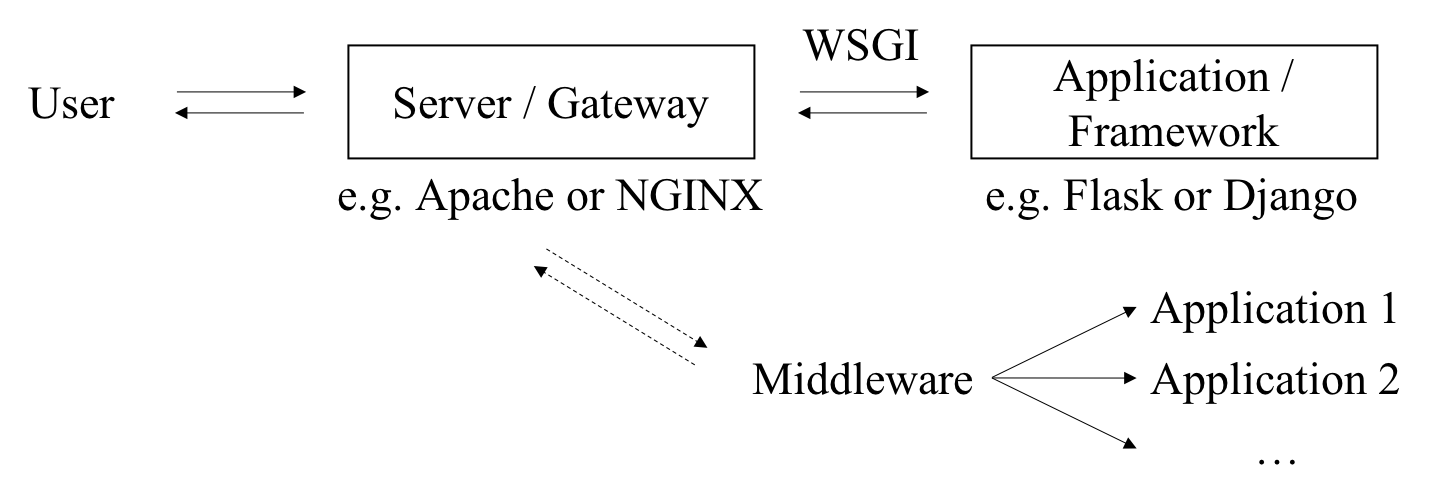
So this is the relationship between a web server and a web framework.
Hardening steps
Here are the hardening steps we took to secure this server.
Adding authentication
The provided website does not have any form of authentication. Anyone can use any functionality on the website! So the first thing I did was add user authentication. The tutorials on Django’s site are terrific. Just follow this tutorial and you’ve basically got everything.
Specifically, we added the login_required decorator to every view, added a view for logging in, modified the menu bar so clicking on “Files” wouldn’t open FTP directly, and added logout functionality.
1 |
|
NGINX Reverse Proxy
By default, our Django web application is running at localhost:8000 and our shellinabox app is running at localhost:8080. We don’t want to expose the ports 8000 and 8080, but we also want users to be able to access these applications.
We can solve this problem by configuring NGINX to work as a reverse proxy. In the simplest case, the web server listens on an external port and proxies requests to different internal ports (on the localhost interface) based on the Uniform Resource Identifier (URI). We can configure our NGINX reverse proxy like this:
1 | upstream backend { # Internal port for Django web app |
As we can see, NGINX will be listening on port 80. Requests to /shell will be passed to the shellinabox app, and all other requests will be passed to the Django application.
Self-signed certificates
We know that HTTP isn’t safe because passwords are sent in plaintext. So we want to change our website to use HTTPS. This consists of three parts: making necessary changes in Django, configuring NGINX to redirect traffic on port 80 to port 443 (see snippet below) and, most importantly, obtaining a certificate!
1 | # This directive will redirect traffic to port 443. |
Real certificates cost money though, so why not sign one for ourselves? Not much to write about here though, since I mainly just followed these tutorials:
How to Create Your Own SSL Certificate Authority for Local HTTPS Development
Create a Self-Signed TLS Certificate
Deploying Django
Django applications can run in two modes: development and deployment. Under development mode, helpful debug messages are printed, but secret keys are written in plaintext in the code. Before allowing access from the public, it is important to switch the application to deployment mode. This Deployment checklist provided on Django’s website can be very helpful.
The steps I took were:
- Put the secret key and database key in files (originally written in code; would be awful if you open-sourced the code!)
- Set the
DEBUGoption insettings.pytoFalse - Restricted the allowed hosts in
settings.py - Created a root certificate and made HTTPS-related settings in Django and NGINX
- Installed uWSGI (See How to use Django with uWSGI on Django’s website for more information)
- Created uWSGI configuration file and started uWSGI
- Changed related settings in NGINX configuration
The web application is now deployed and running under HTTPS!
Note-taking app
Because I reimplemented the note-taking app with Django, I unfortunately did not have much time to look at the original app. The app was written in C and run as a service using shellinabox (GitHub repo here).
Aside from the vulnerabilities of the app itself, an issue with the note-taking app is that even with NGINX working as a reverse proxy, people can still bypass Django authentication by directly going to https://web.cfc.cucyber.edu/shell. This is because even though port 8080 is not visible externally, /shell will be proxied to localhost:8080. To deal with this issue, we added basic HTTP authentication to NGINX (see NGINX Docs | Restricting Access with HTTP Basic Authentication for how to do this). Now authentication is provided on both the NGINX level and the Django level, and any request to the server will not be served unless the user has been authenticated. I don’t know if there are safer and more elegant ways to solving this problem, but this solution provides basic protection.
Other stuff
Aside from my tasks, I also learned a lot about securing a network in general. While I had heard about demilitarized zones - air gaps that separated the internal network from the external-facing interface - I’ve never used one or would have thought of applying one for our infrastructure. In this competition, we had a demilitarized zone between the DNS server, web server, mail server and HMI, which the users would have to have access to, and the Business Continuity server, Windows database server, Ansible Node (still have no idea what that is) and ICS device, which the users should only be able to access through the interfaces we provided. I learned that it could be unsafe to store the database on the same server as the website itself, so instead of using the default database on the same server as the Django application, I configured it to use the database on the Windows database server, which is behind the demilitarized zone. This experience really opened my eyes up to stuff that I otherwise would not have had contact with, and I’m really glad I had the opportunity to participate and learn from my teammates.